How to rig a backboard remote camera
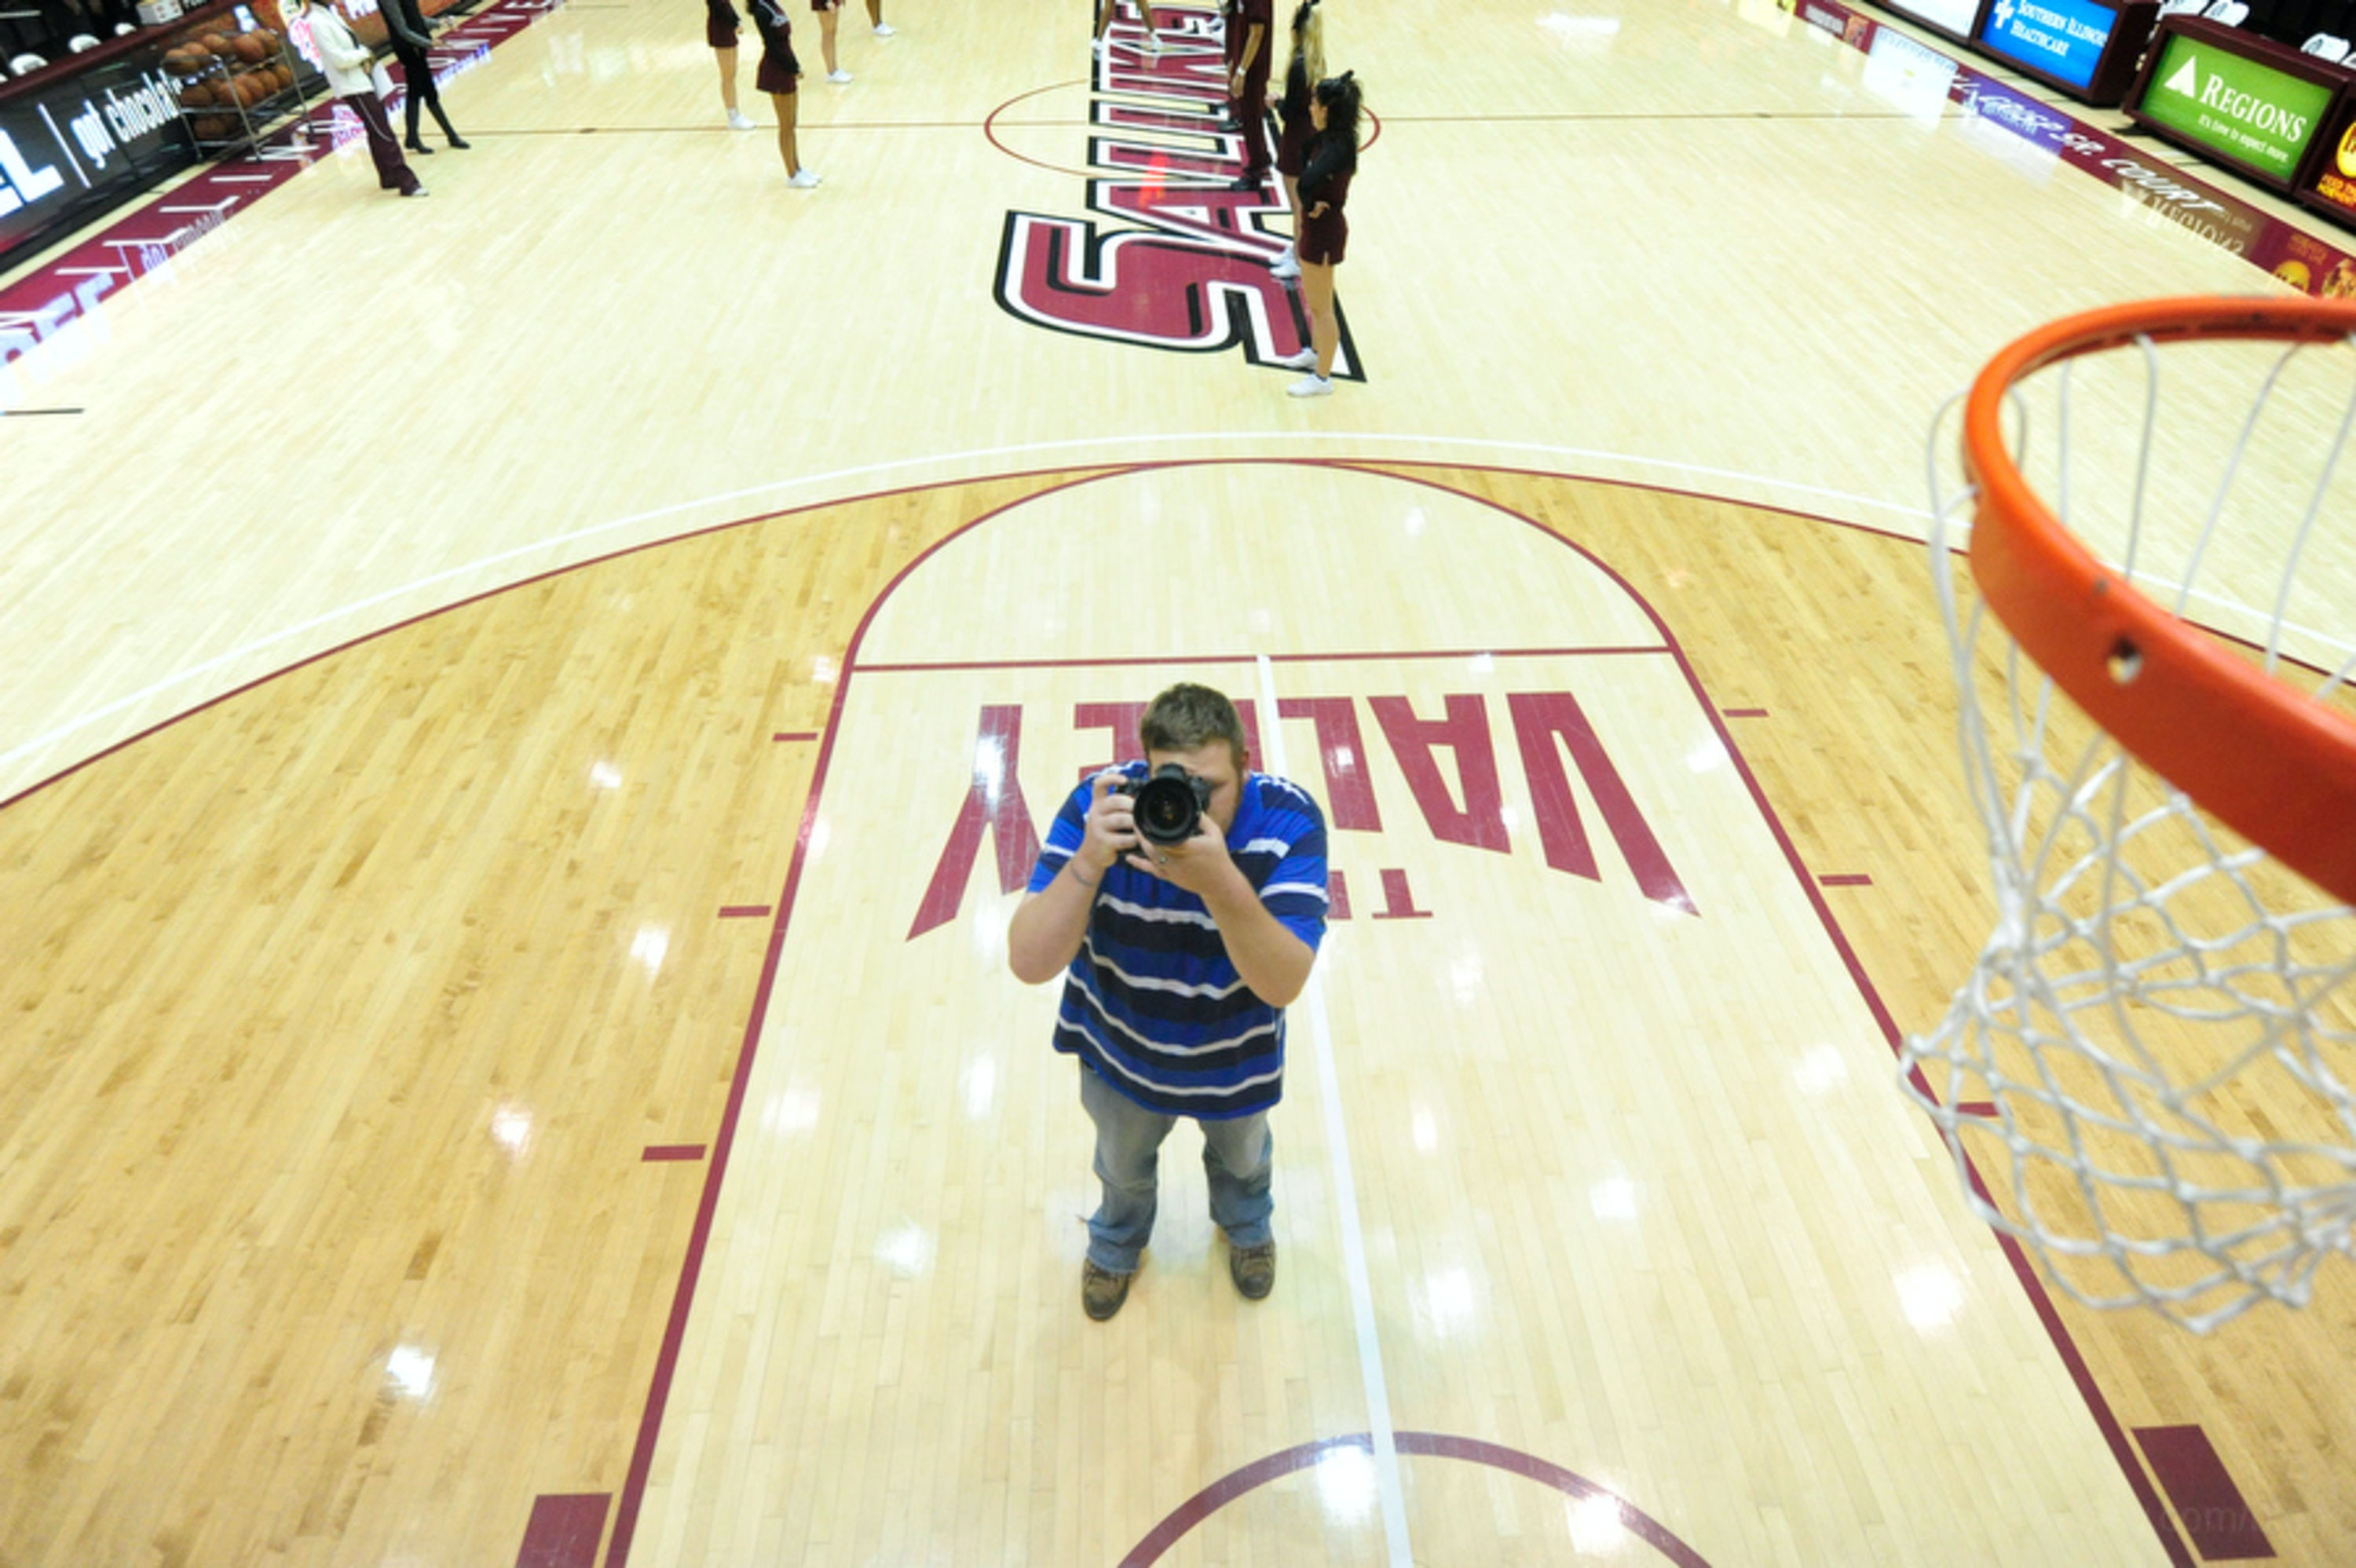
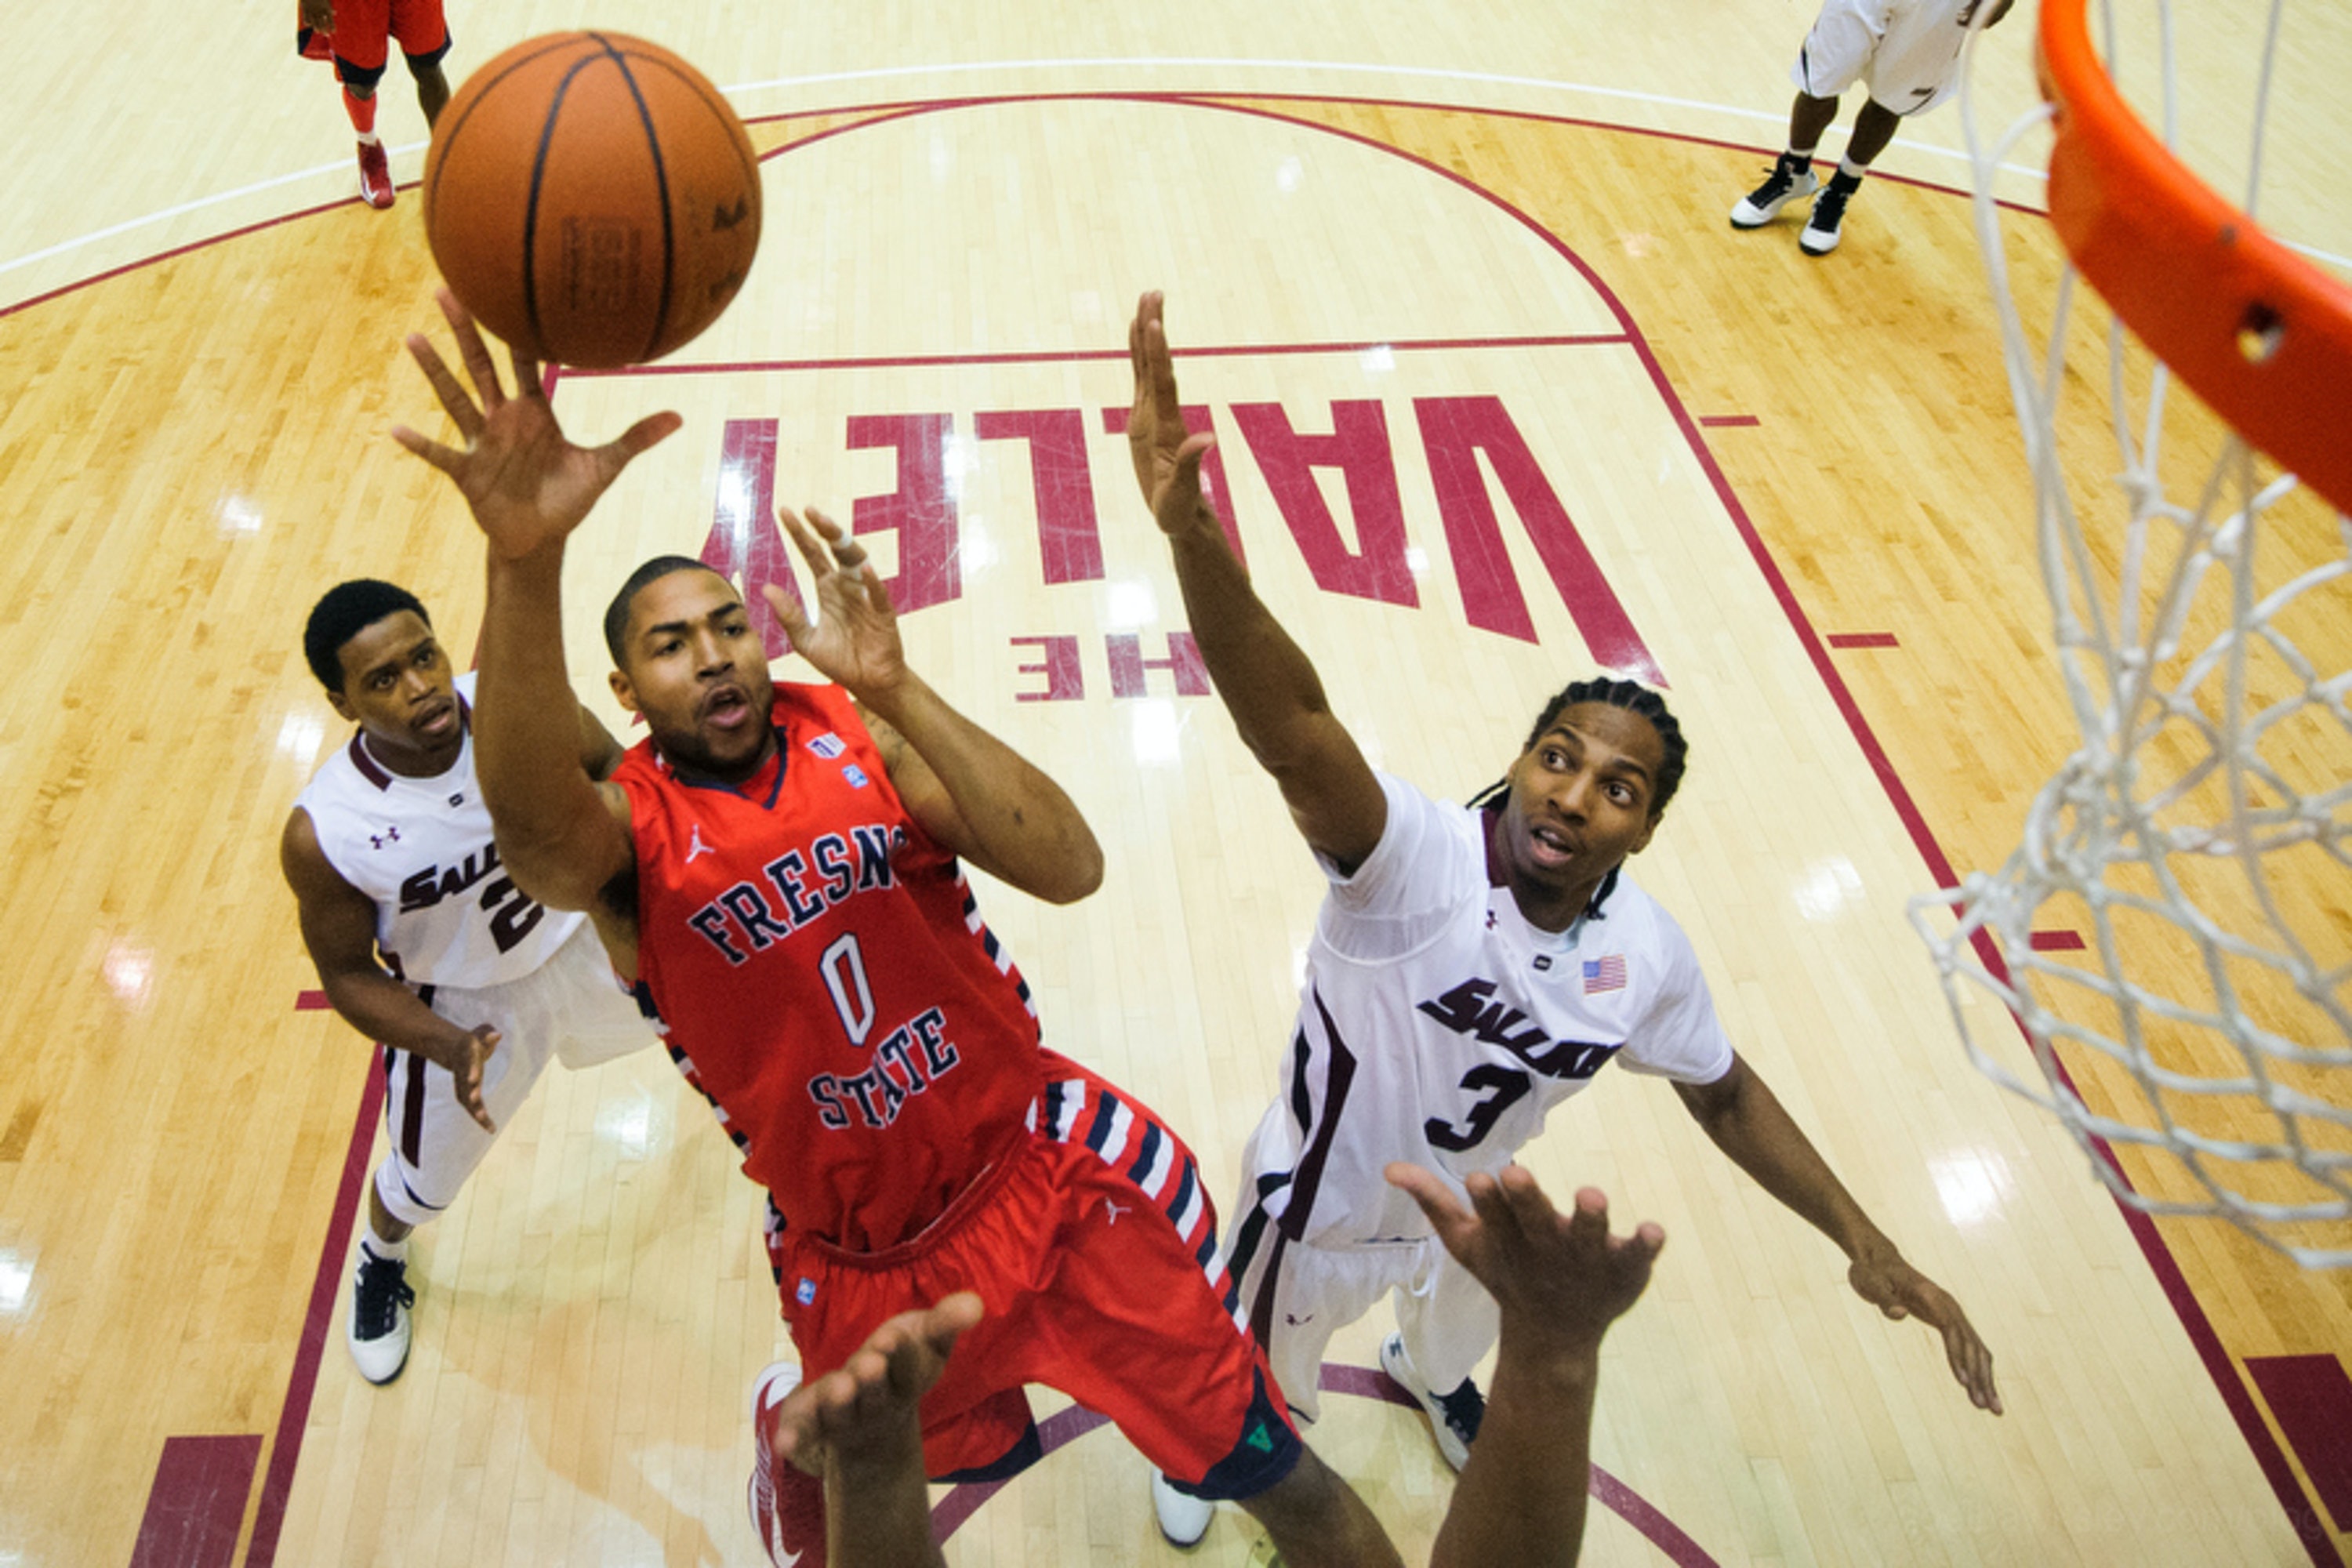 Fresno State’s Jerry Brown puts up a shot during the Salukis’ 57-54 win over the Bulldogs at SIU Arena in Carbondale, Ill. on Wednesday, Nov. 28, 2012. (Joel Hawksley / The Southern)
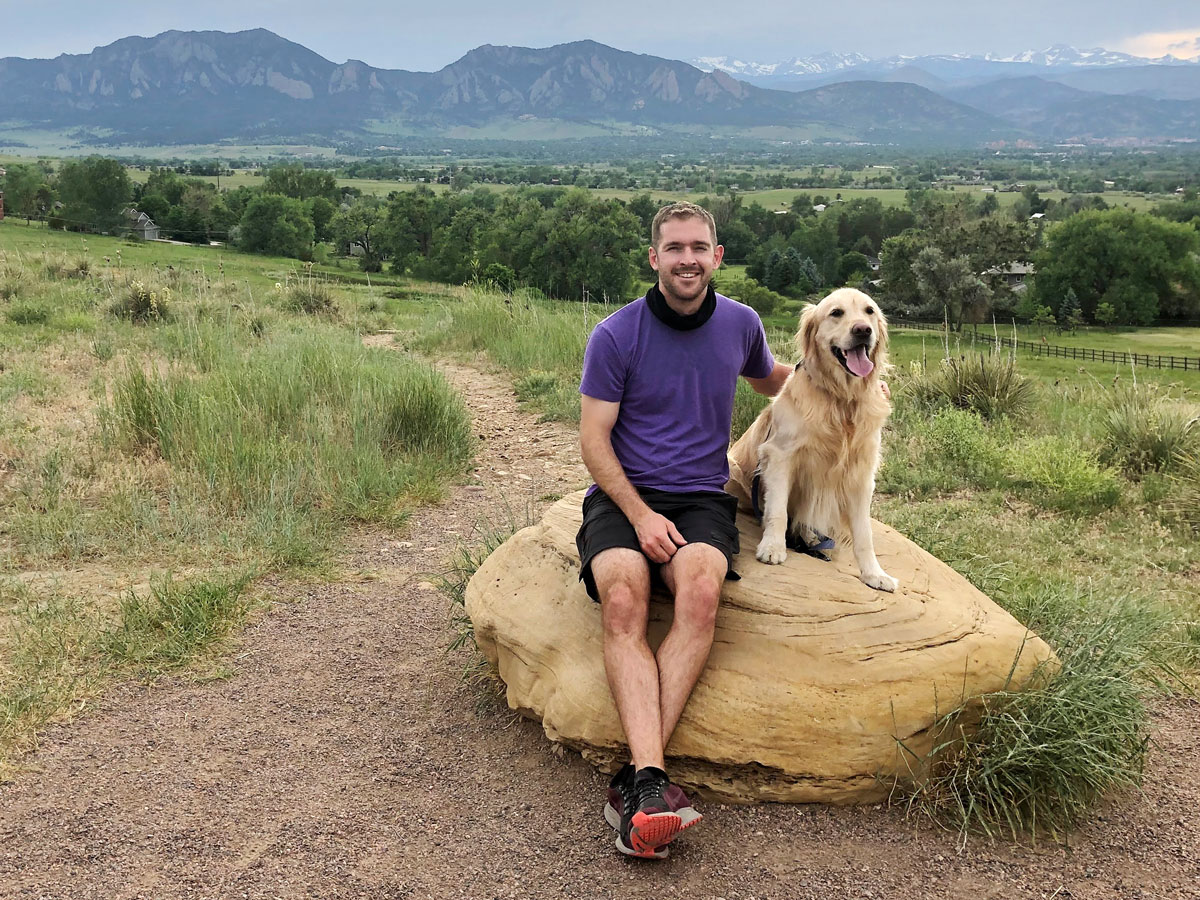
As basketball season begins, I’ve been getting a lot of questions related to setting up remote cameras. While many sports lend themselves to working with remotes, there is no better sport than basketball, as most of the action happens in a fairly small, predictable area. Most modern basketball standards provide a variety of mounting options that can make for incredibly dynamic images. In this week’s Behind the Scenes, I’ll go over the basic best practices for remote camera work.
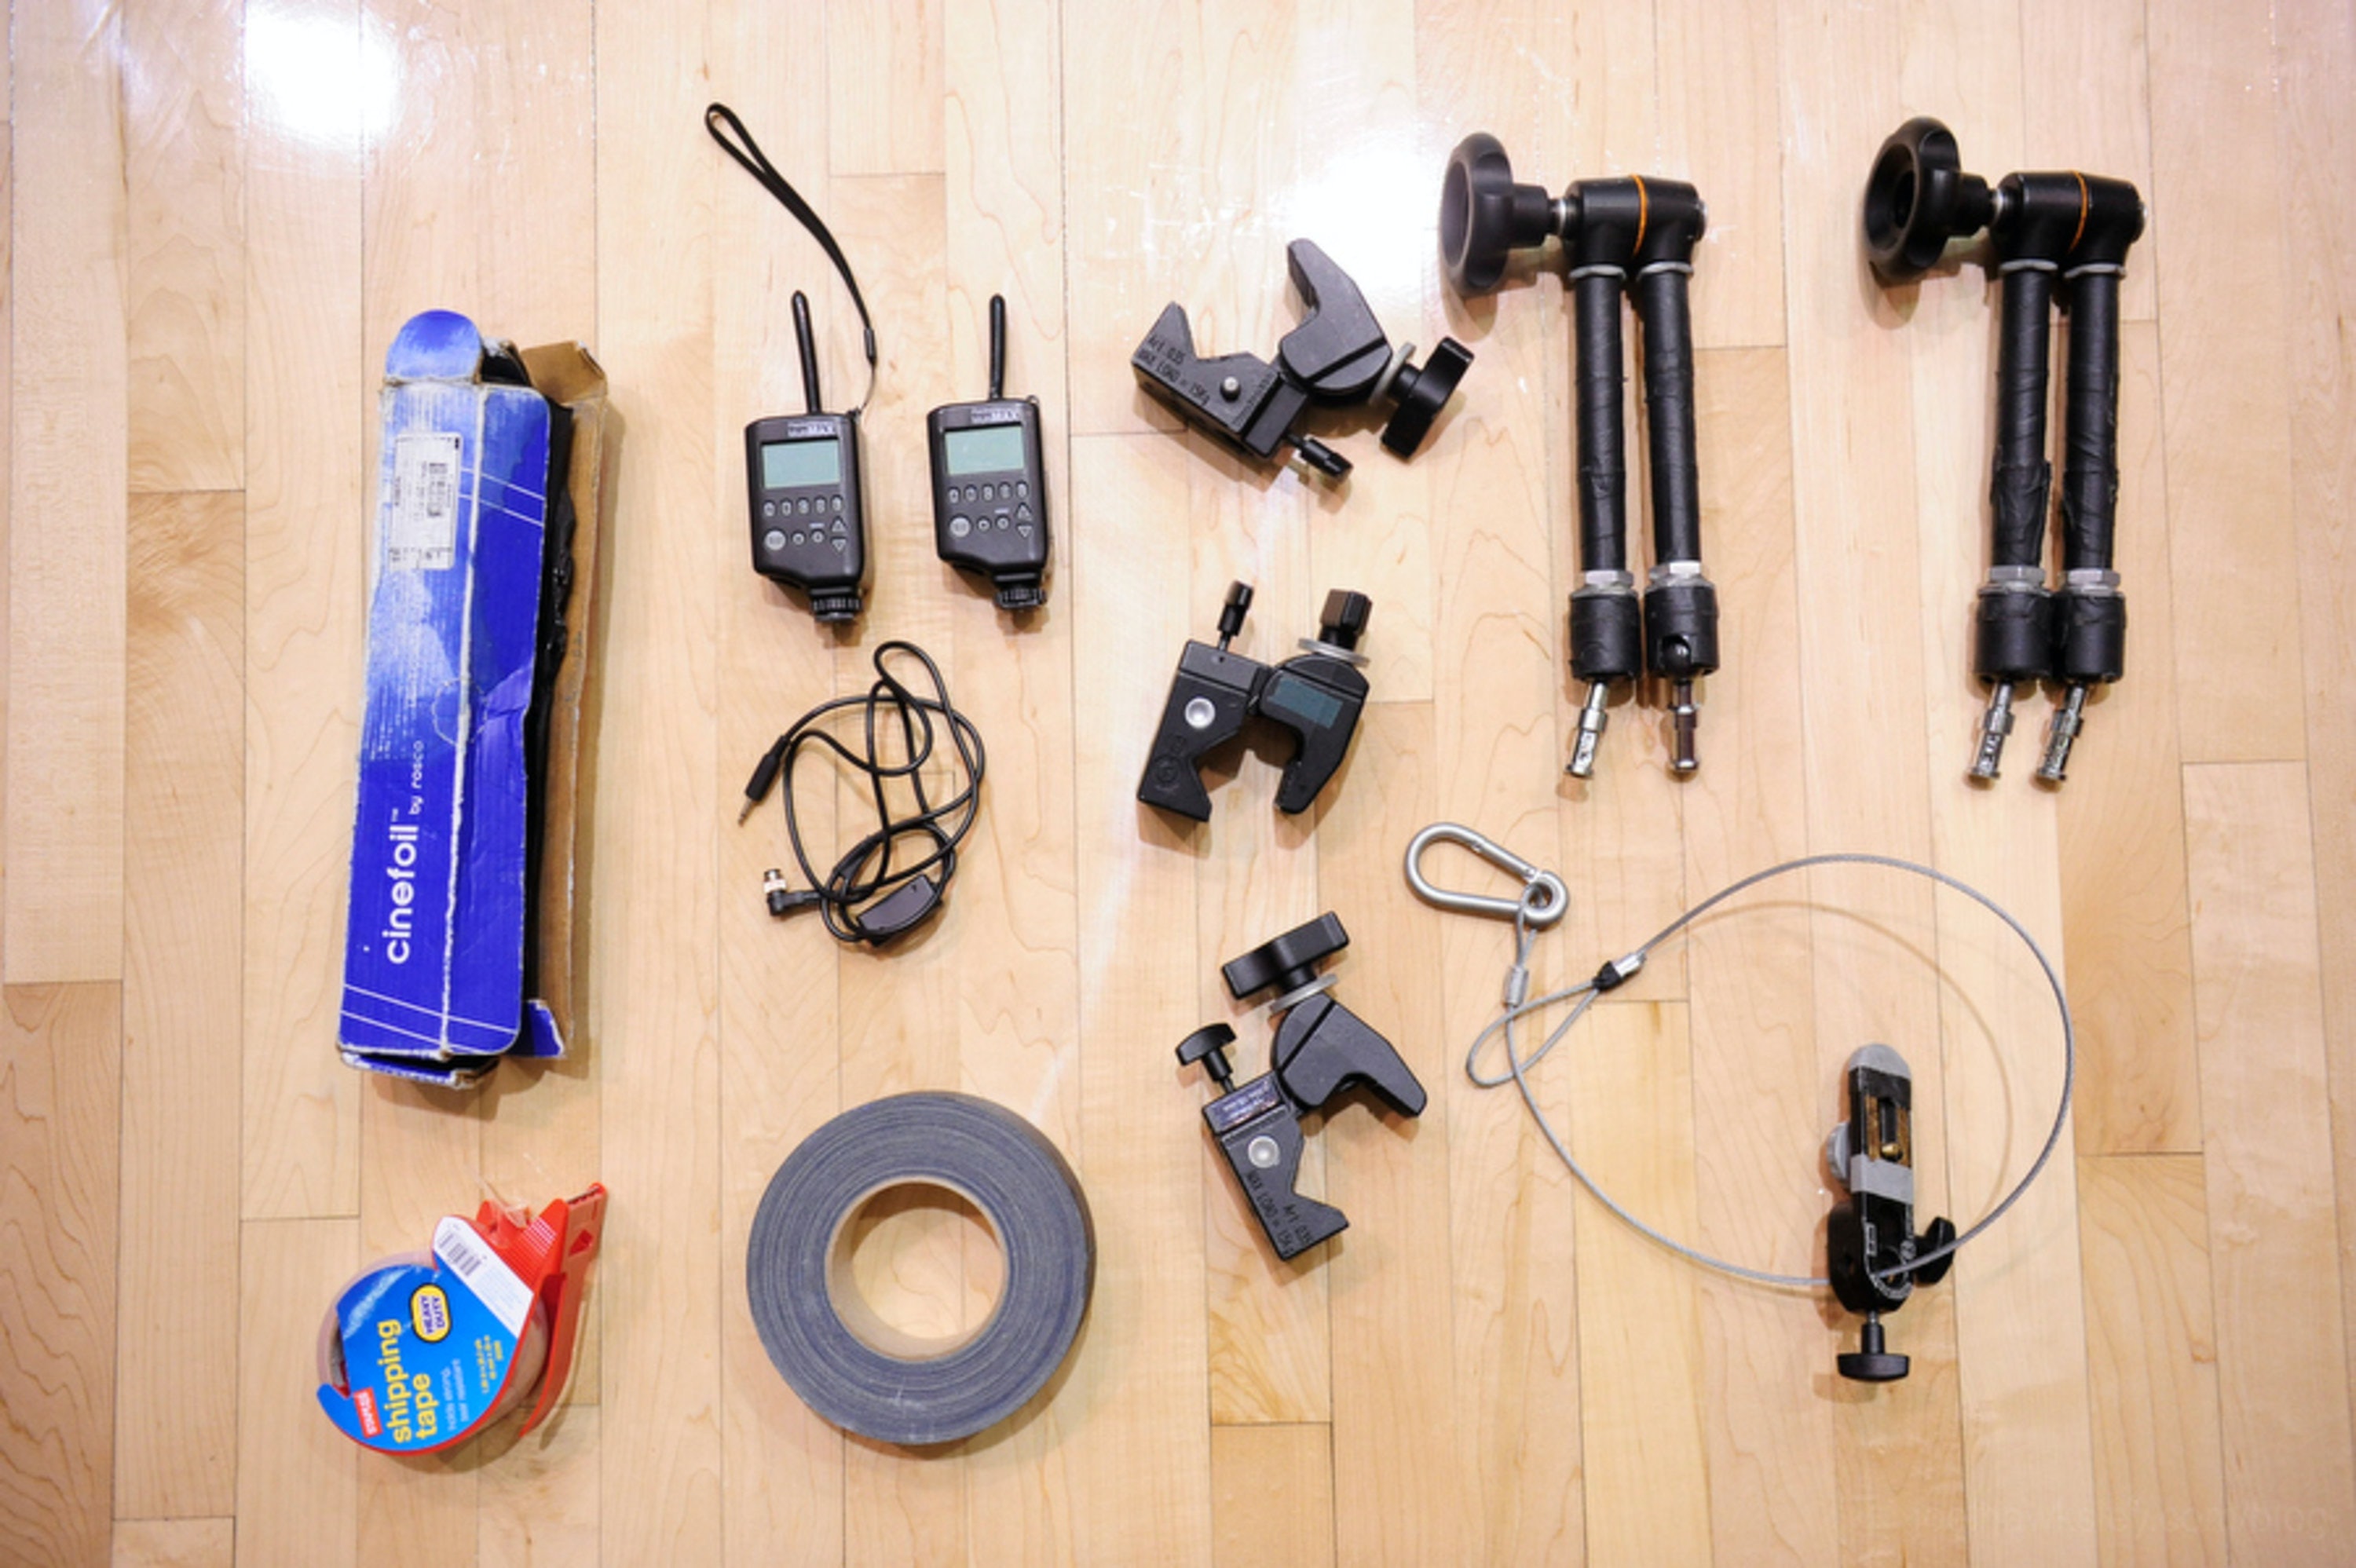 The basic equipment needed to set up a remote camera.
Gear list
At a minimum, you need the following gear to set up a remote camera in any position above the ground.
Safety Cable: The single most important part of any remote camera setup. Always secure the camera plate/camera to a point ABOVE the rig, so that if a clamp fails, the camera won’t fall to the court below. I carry a set of light fixture safety cables and chain them together if I need more reach.
Radio Triggers: Allows you to trigger the camera without running a sync line to your shooting position. I use PocketWizard MultiMAX units, which have advanced features such as calibrated delays and zone triggering. For most people, a pair of the Plus III units will do the trick.
Pre-Trigger Cable: Connects the radio trigger to the camera’s remote port, allowing the radio to trip the shutter. In addition, the cable has an inline switch that pre-triggers the camera, keeping it in the “awake” mode and ready to fire immediately. Without this switch, the camera would fall asleep and need to be woken up before shooting a sequence. I use cables from FlashZebra, as I inevitably will snap one or two a season.
Magic Arms: You’ll need two of these, as you’ll see below. Get the version with the knob (variable friction), not the lever.
Super Clamps: I prefer the Avenger version, but you can get them in various styles. You’ll need three.
Camera Plate: Attaches your camera to the end of a Magic Arm. I use the Manfrotto 143BKT.
Gaff Tape: For securing cables, blacking out camera/lens logos, etc. I swear by Permacel, but it’s no longer made. Shurtape is the next best.
Backboard specific: For backboard remotes, you’ll need a box of Rosco Cinefoil to shield the camera from reflections and a roll of packing tape to secure the shield to the glass.
Prep
Before even consider setting up a remote camera, it is important to make sure that remotes are allowed at the venue you are working in. Most have specific rules and limitations set by conference officials, facility managers, and these days, legal departments. Depending on the location, approval may be needed from more than one person, so it is best to call ahead and ask around. In addition, many locations now require proof of liability insurance for certain mounts.
For example, here in Carbondale at SIU, where I do most of my remote work, there are the following rules:
- No remotes on the catwalk, per SIU Risk Management.
- Backboard remotes are allowed, but must be in place and checked by SID office two hours before tip-off.
- No shot clock mounts.
- Post mounts are allowed, as long as the camera does not risk impacting play. SID must approve.
- Floor cameras must be attended at all times.
It is incredibly important to develop a good relationship with the appropriate contacts at your venue, as they will likely have to go to bat for you at some point to justify your setup to other officials, especially referees that are not used to seeing remote camera rigs.
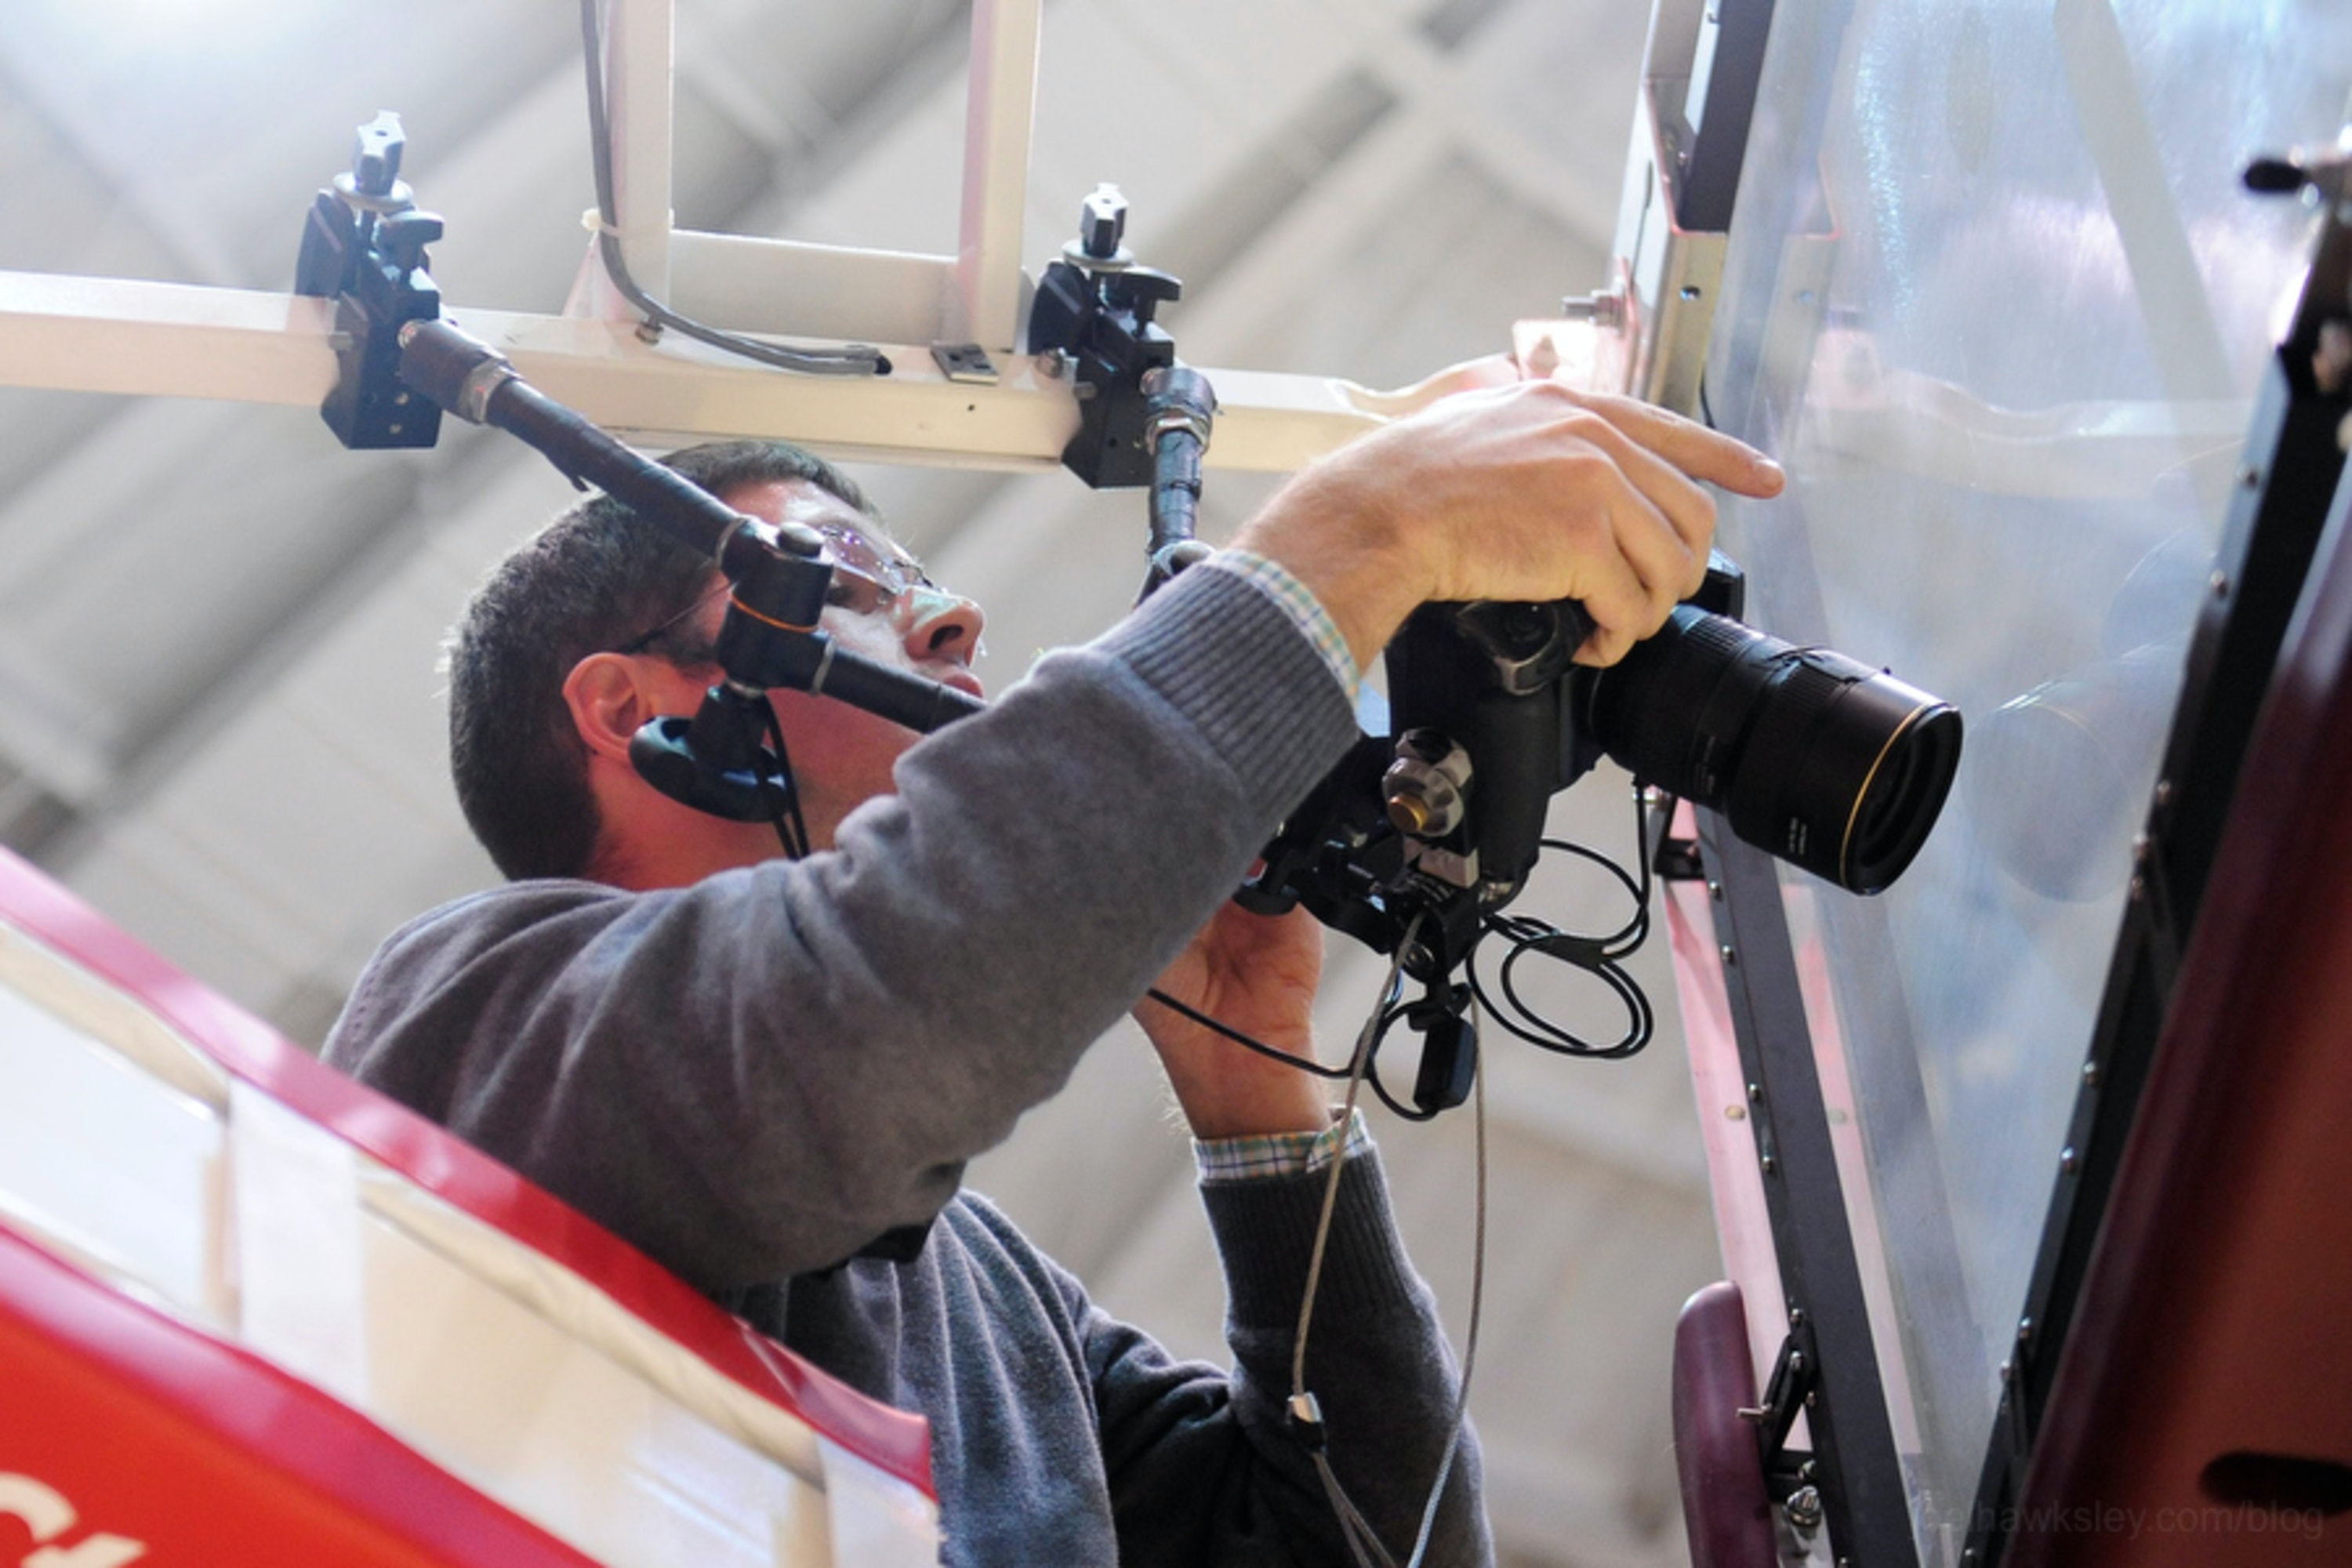
Rigging the camera
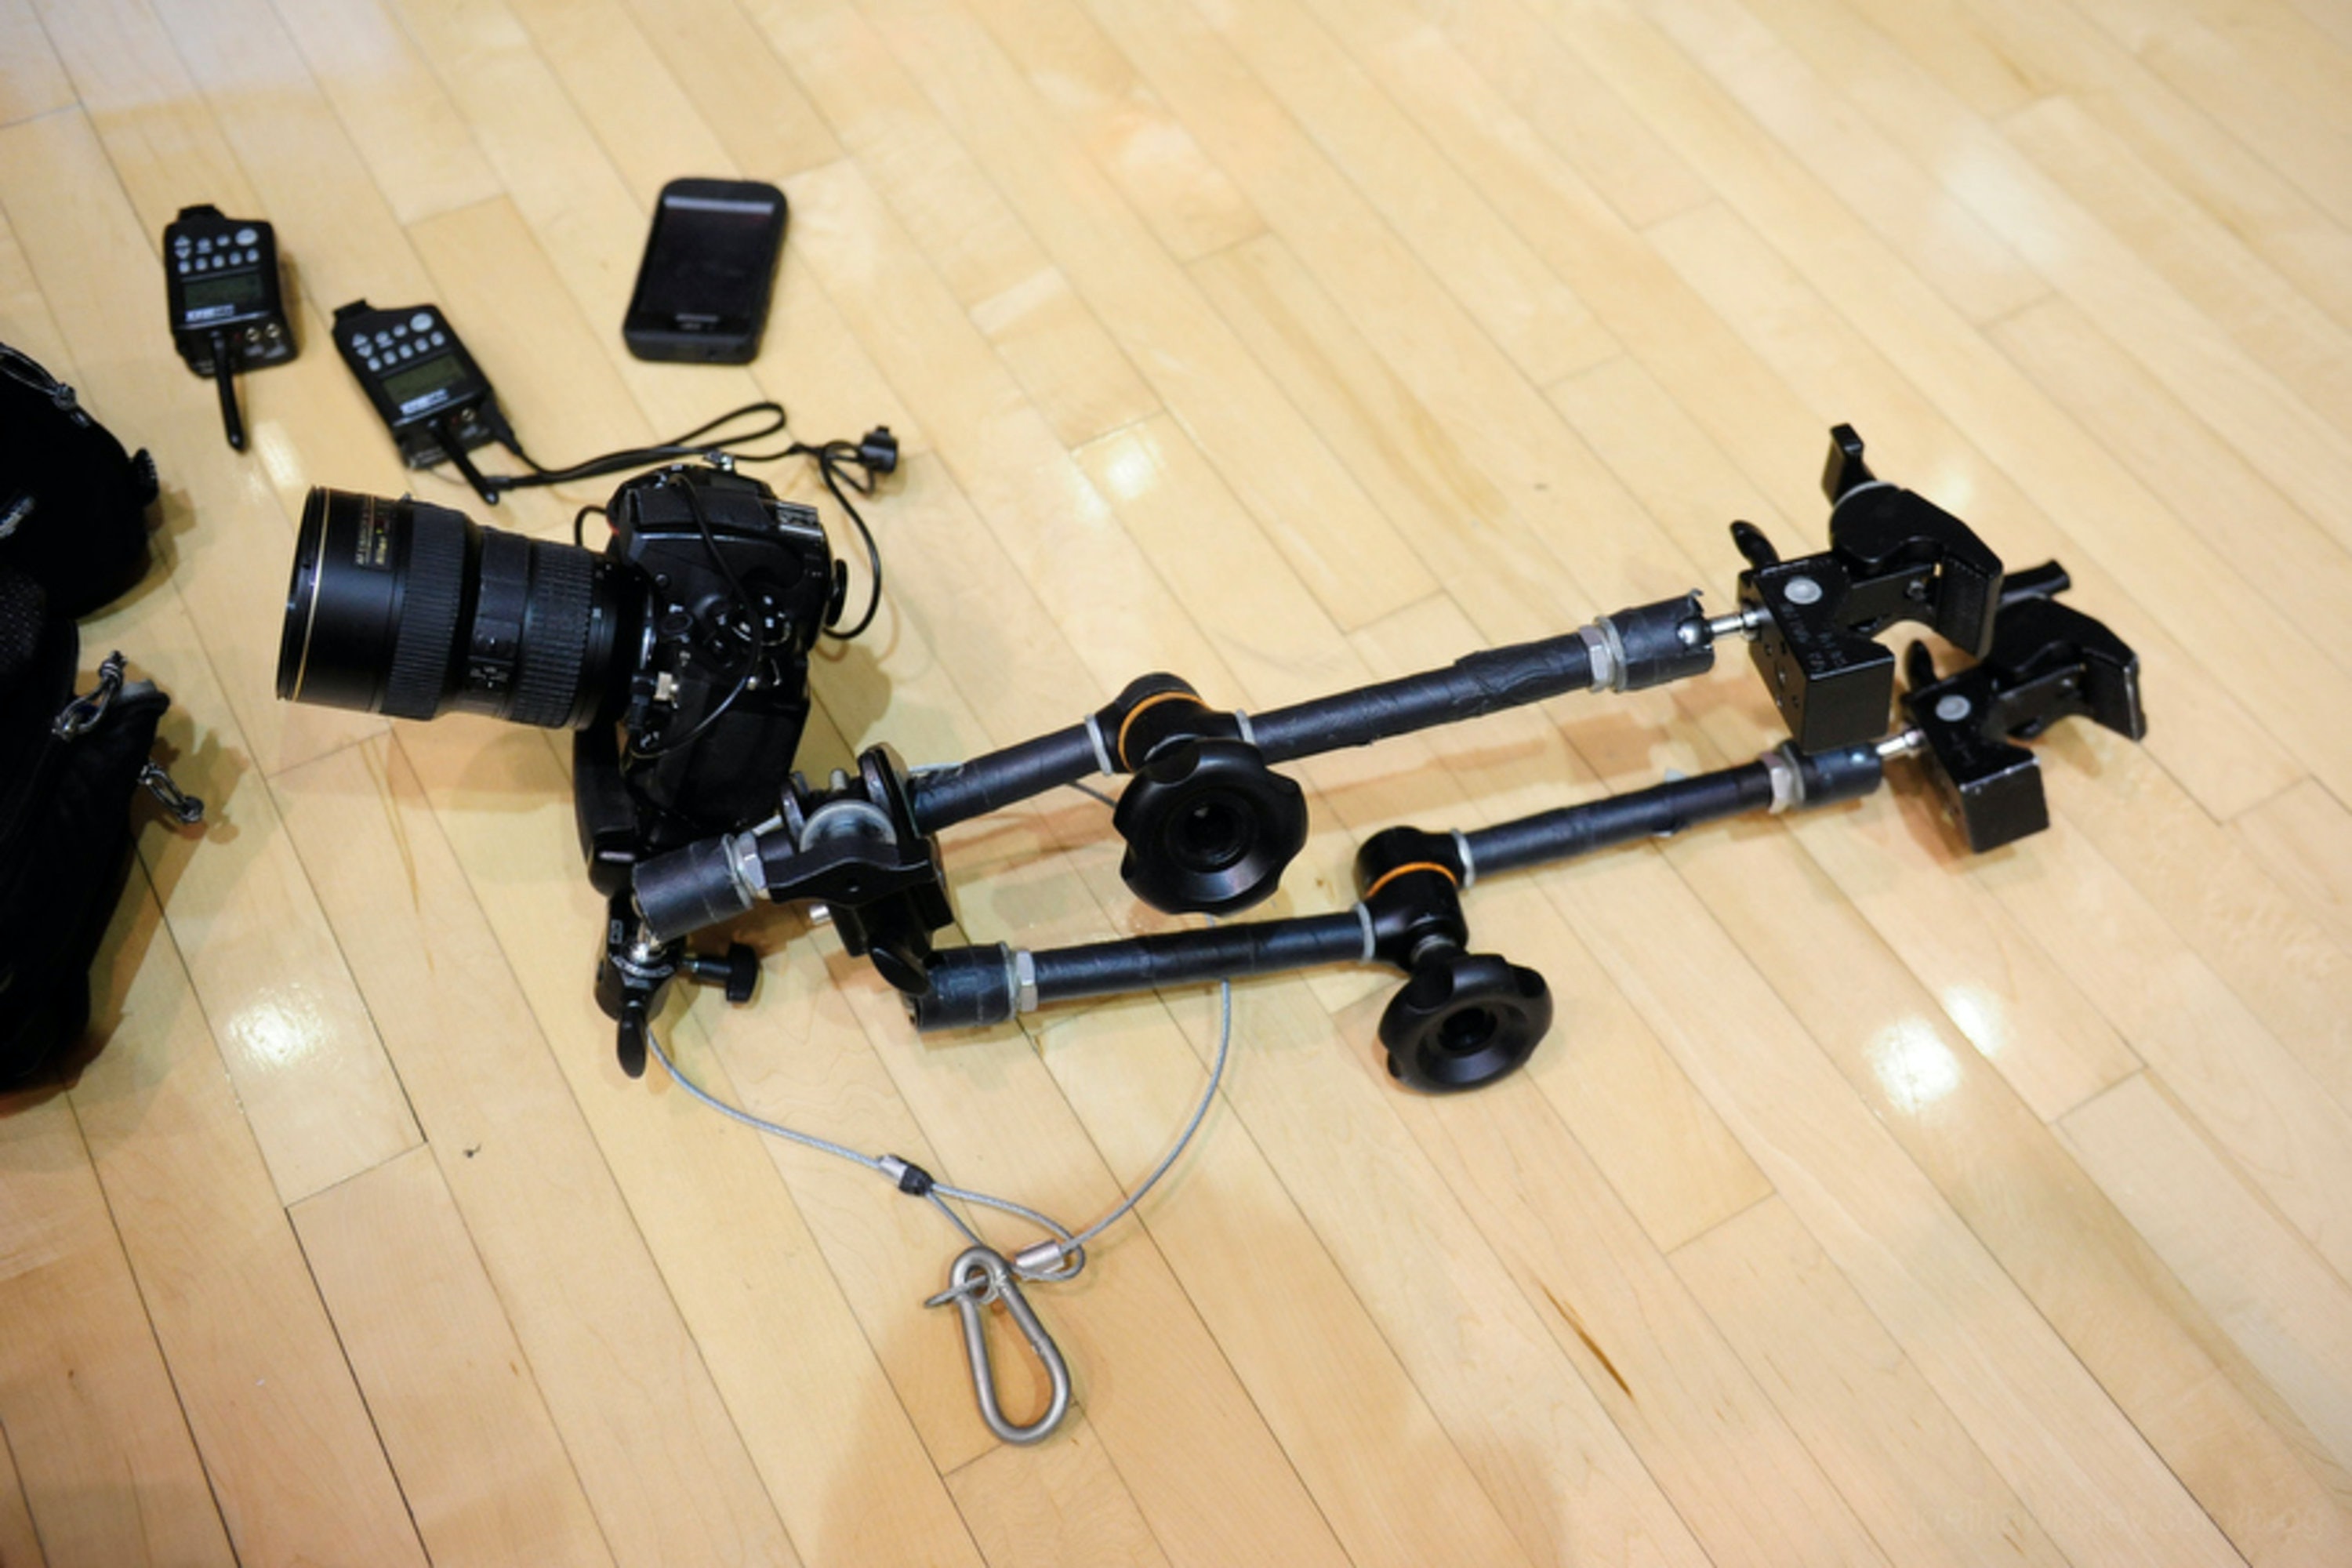 The assembled remote rig, ready to be attached to the basket.
Depending on the attachment points available, the arrangement of the magic arms will vary quite a bit. Most importantly, the secondary support arm should be secured to the section of the primary arm closest to the camera, which isolates the rotation of the camera plate. In addition to providing another safety measure, the second arm stabilizes the rig, which is especially important for basketball remotes as the hoop moves quite a bit, especially when a player dunks.
For this setup I’ll be using a Nikon D700 with a 16-35 f/4 lens, set to 20mm and focused to about four feet. I make sure to tape down the zoom and focus before rigging the camera. For backboard remotes, I get everything set up on the ground so it is just a matter of positioning the camera and setting up the reflection shield.
Occasionally, the glass will need cleaning beforehand. Kindly asking a janitor to do this beforehand normally works for me.
The first thing I do is mount the two clamps to the standard and position the camera so the lens (without the hood) is as close to/touching the glass. Once the arms are where I want them, I attach the safety cable to a point above the rig.
For best reception with the PocketWizard, I hang it from one of the magic arms where it is not in contact with any metal.
 The camera in position against the glass.
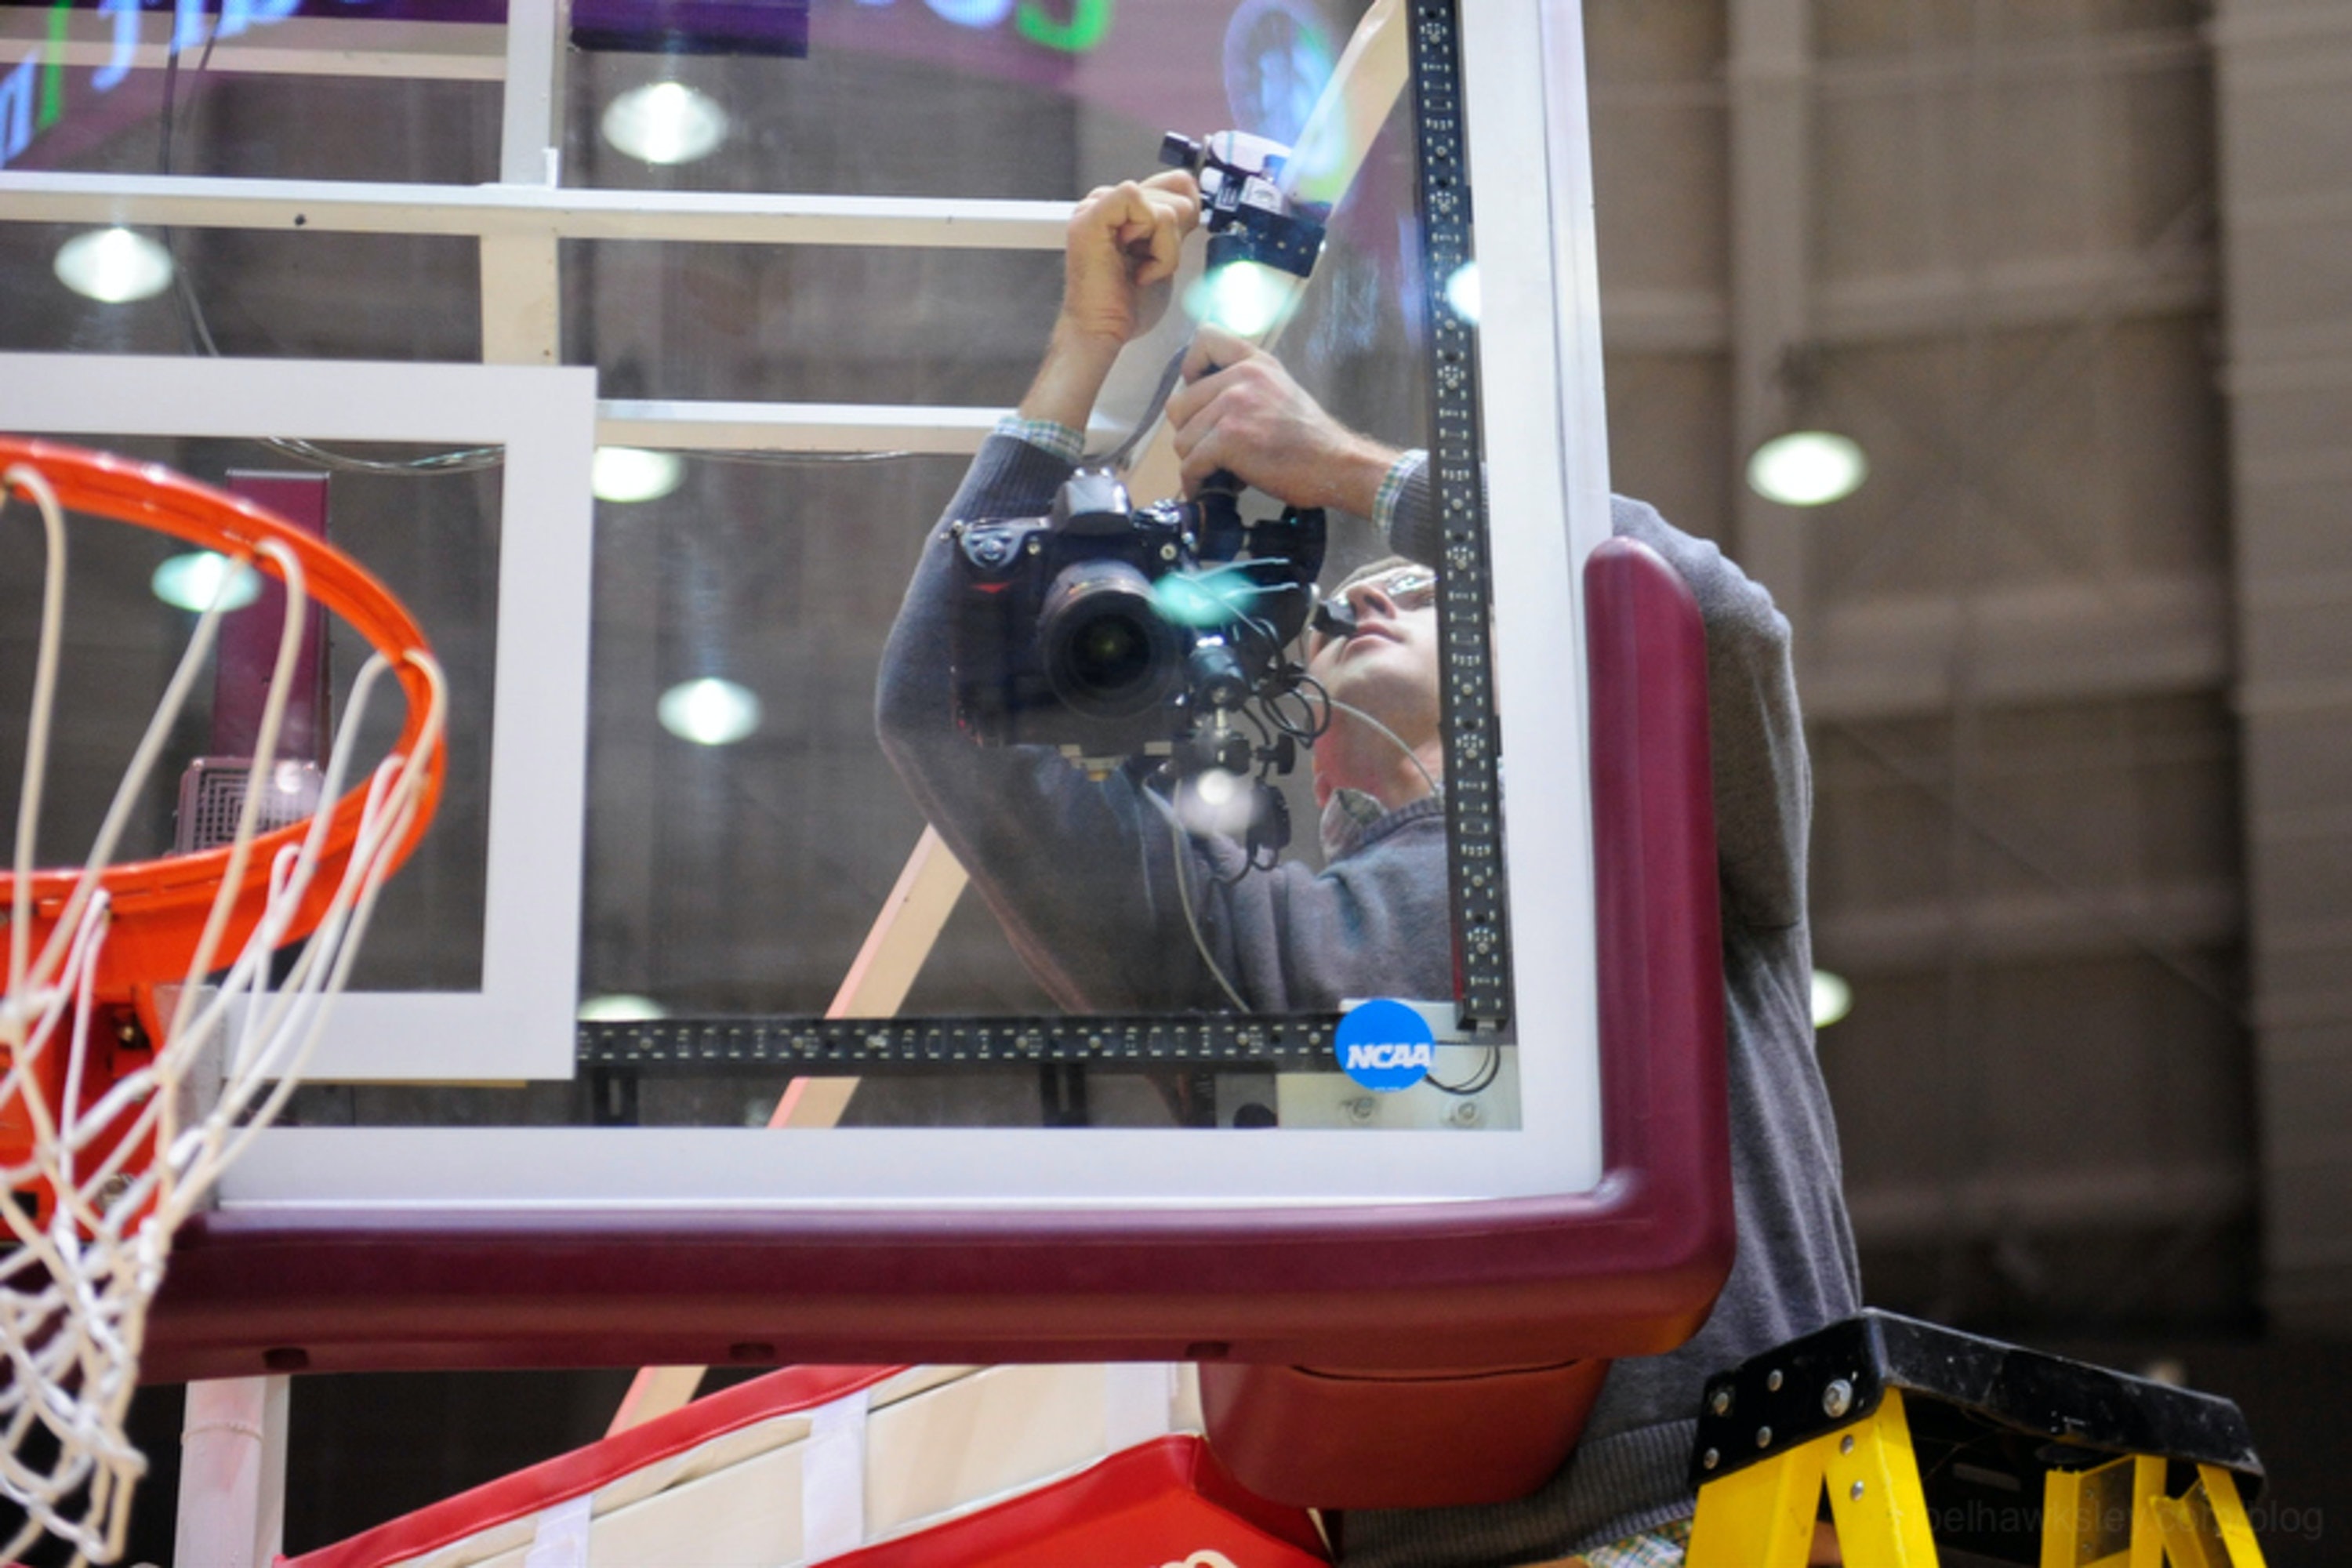 Securing the camera into position.
Shielding reflections
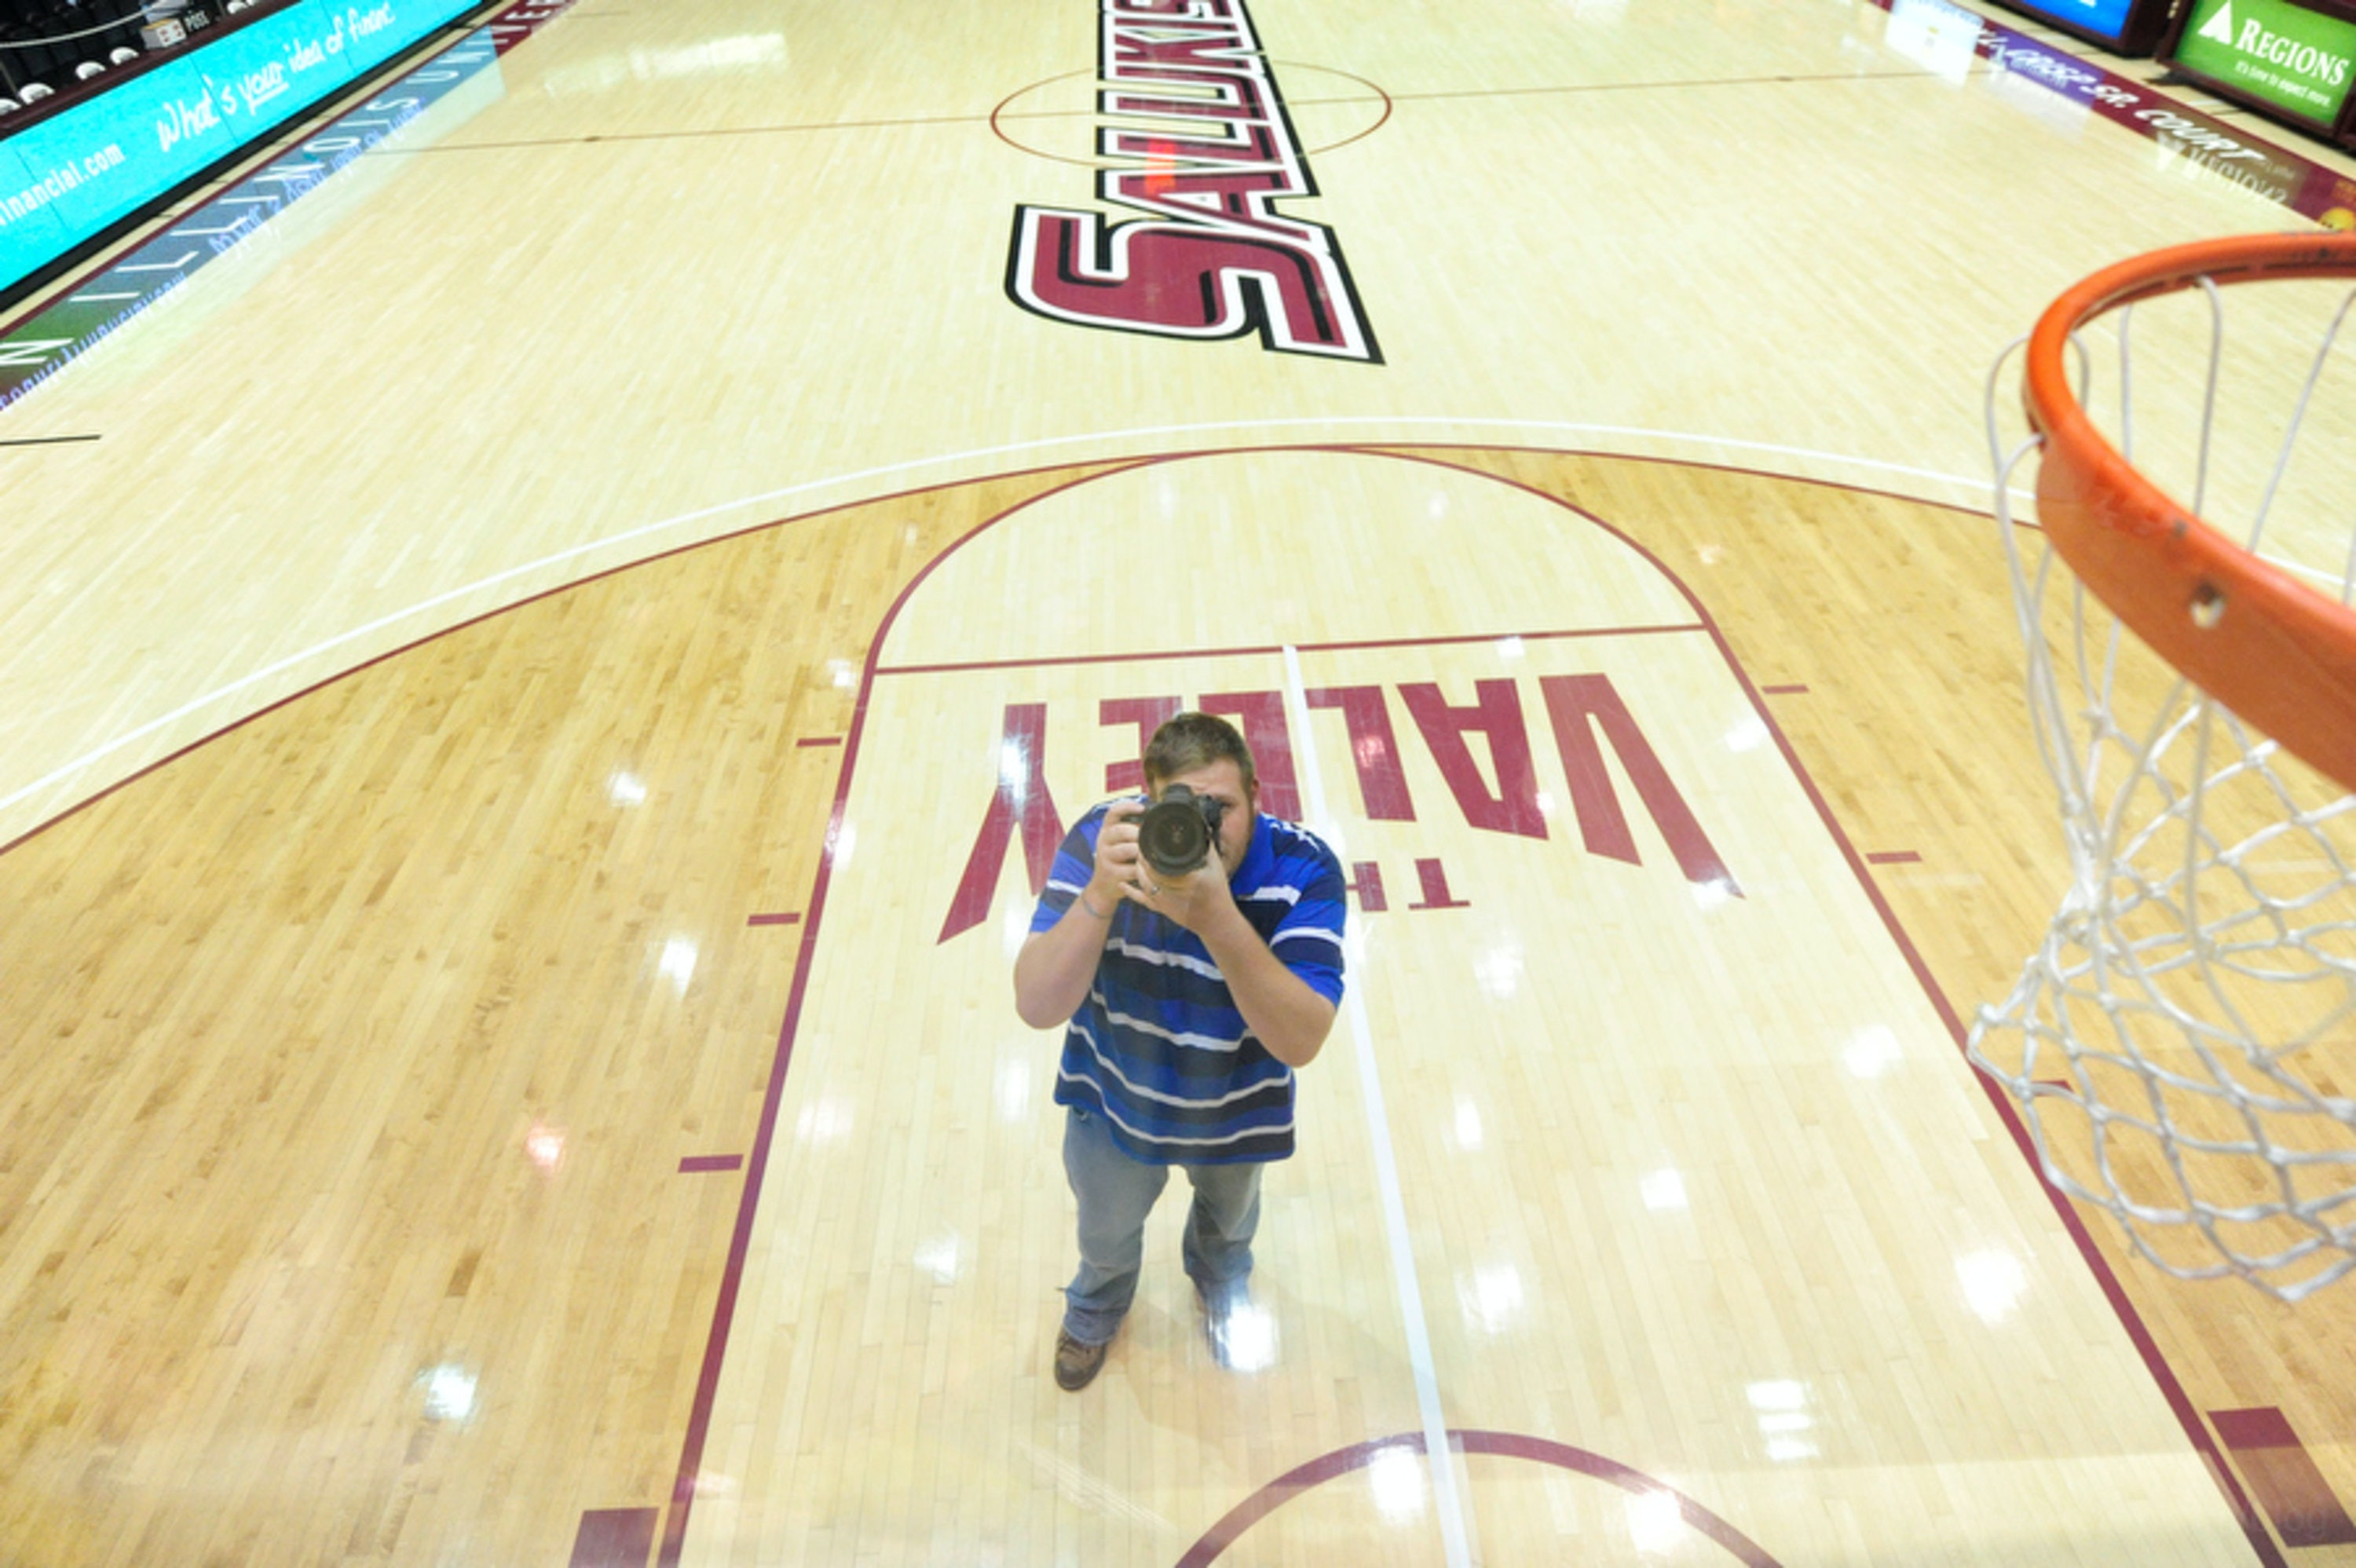 Test image without reflection shield.
Due to the camera being positioned at an angle against the glass, there will be some reflections in the frame, often of markings on the floor behind the basket, and sometimes of video screens if the arena has them. To eliminate these distractions, I attach a sheet of Cinefoil behind the camera, blocking the reflections.
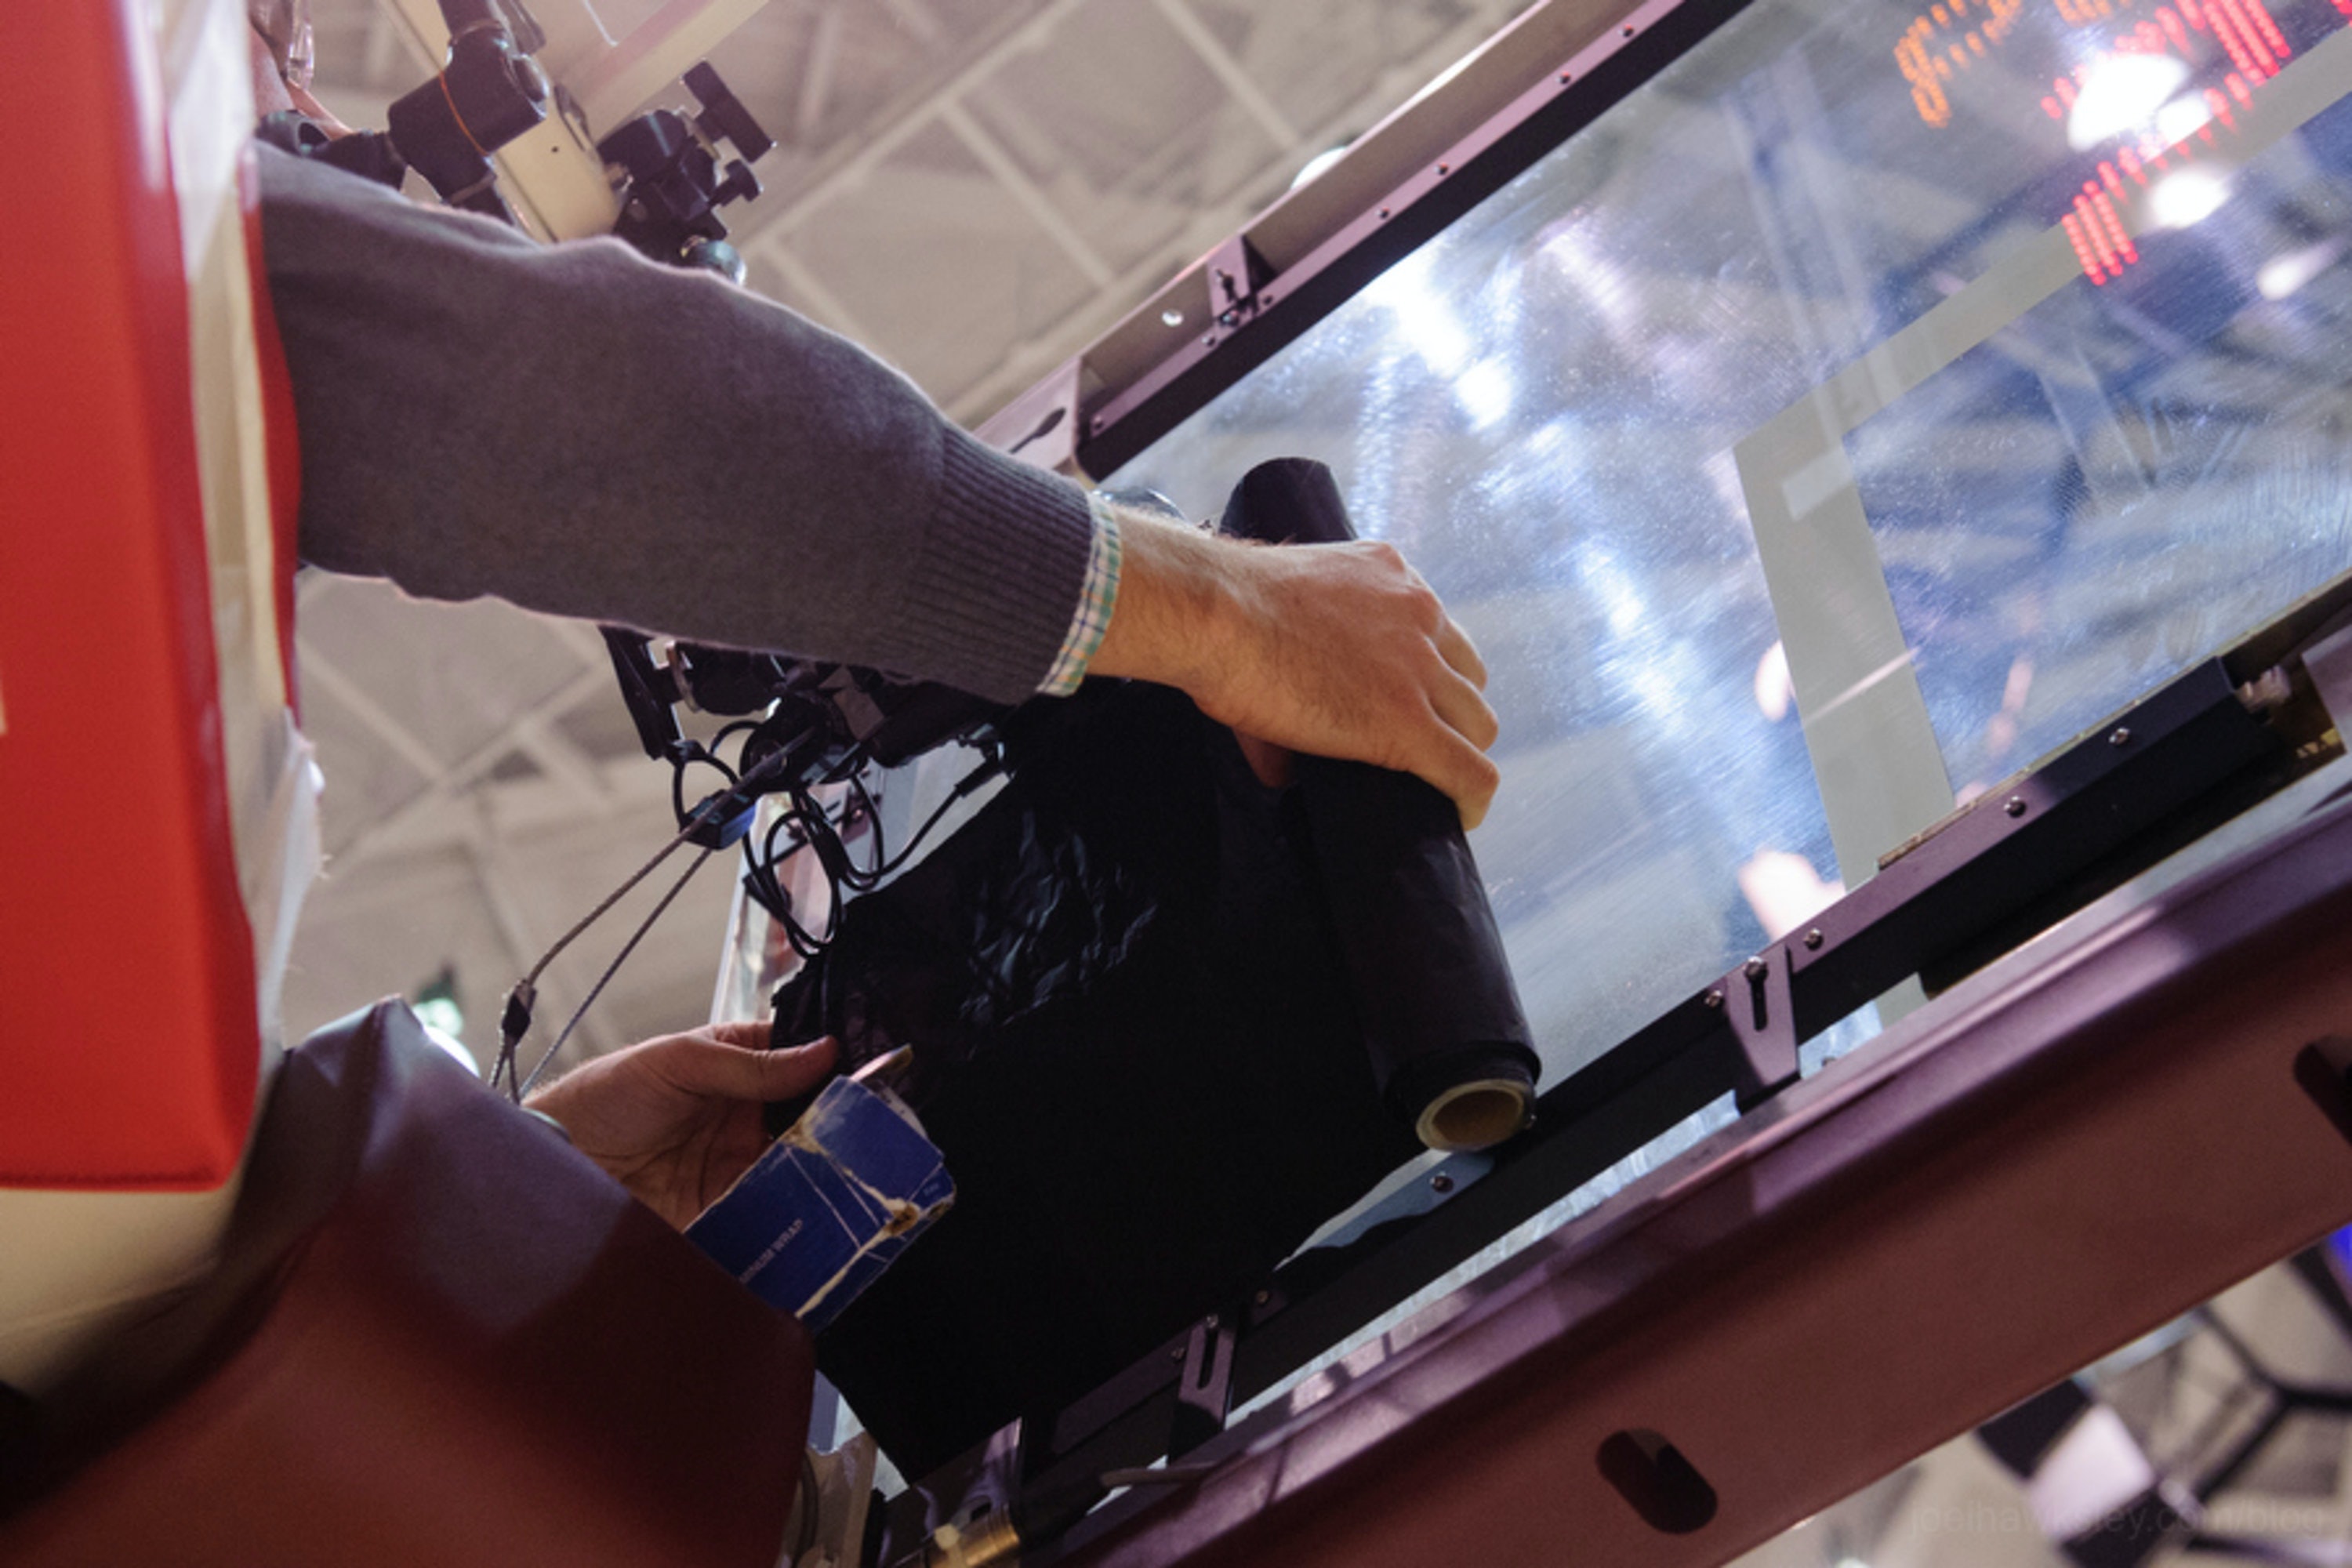 Adding the Cinefoil reflection shield.
 Test image, with reflection shield.
Wrapping up
With the camera in place, I double check my exposure and triple-check that every knob is tightened down. From there, it’s just a matter of triggering the camera whenever there is action in the frame.
 The final rig in place for the game.